Home

About the Girl

DIY/Tutorials

SIPIDI Saturday

Food & Recipes

Wednesday, August 6, 2014

Burlap and Lace

While I never considered myself into "shabby chic," my love of lace and burlap is a clear indication that I am. Who wouldn't be though? Lace and burlap can add a pretty touch to just about any room. Celebrating my new found love of these materials, I decided to make a table runner. I really like how it came out, and it is the perfect accent for several of the rooms in our home. As an added bonus if you don't have a sewing machine, this project can be completed just as easily with a hot glue gun! Now...let's get started!
Materials
- Burlap
- Lace
- Sewing machine (or hot glue)
- Iron
- Scissors and thread

Begin by choosing the size you want your runner to be. I measured the table I wanted it to lay on, and then added 1/2 inch around the perimeter that would be folded over to prevent fraying. 
Once you have measured, cut your piece.
Around all the edges I folded the burlap over 1/2 inch and ironed it into place. 
This prevents a lot of fraying, and the ironing allowed for easier sewing later on. 
 Sew all the edges on your runner. If you are not using a machine, then glue everything in place the same way.
 Now decide where to place your lace. For this one I chose the two longer sides of the runner to place my lace. I pinned it first before I started sewing. Depending on your lace, fold 1/2 inch of the lace underneath on the end to give it a smoother look. 
 Sew in place!
 Iron out any wrinkles and get ready to decorate! 
 I used this one as a simple table runner.
 This one, as you can tell, has different lace. I used an old vintage lace my Aunt gave me and sewed it on the ends instead of the sides. This gave it a vintage feel and I love the look of the old lace!

Tuesday, July 29, 2014

New Beginnings

Four months....four long months since I've posted on this little blog of mine. It's been too long. Of course I could give you the myriad of excuses, but let's just leave it as this winter/spring was tough. Emotionally and physically it was rough and my desire to create seemed to vanish. Then of course came summer and with it the beauty of fresh vegetables from the garden, long boat rides, and spending time with friends and family. My spirit was refreshed and my desire to create came back. My brain is practically buzzing with ideas, though that also might be the coffee. Either way, I'll take it.

One way that helped me get my creativity back, was putting up little things around me that inspired me. Most of the time it's a simple picture, or a hastily written sticky note. I wanted something more permanent so I decided to create a visual reminder of several of my favorite Bible verses. They are particularly meaningful to me in this season of life, and what could be a better thing to do than put them on display? Now everyday I can be reminded by the words and enjoy the way it is showcased. Here's how to make your own!

Materials
- Picture frame
- Printer and paper
- Lace
- Needle and thread
- Button
- Hot glue

For the actual printout I played around in Microsoft Word until I found exactly what I wanted. The two types of font that I used were Monotype Corsiva and Old English Text MT, and I printed it out on normal 8.5 x 11 inch paper. After placing the paper in the frame I knew that it needed another touch so I decided to add a flower as well.
 Begin by cutting out three circles of lace. I think lace is best here because it is forgiving and easy to work with, but any type of material you choose will be fine.
 Place the three circles on top of each other
Pinch underneath the middle of the three circles, leaving about half an inch underneath your fingers. 
 Using your needle and thread, tack the middle into place with a few stitches. 
 Now pinch it from the other direction. Often here I find myself folding or pinching in whatever direction makes it look more like a pretty flower. Trial and error is often my friend and yields the best results. Continue with the thread and place stitches in the middle until the flower is secure. 
 I used a random button from my pile to add a finishing touch. 
Beads also work as well. 
 Sew it into place. I then hot glued it to the frame to secure it, and knowing I could peel it off if I ever decided to change it.  
 
 Perfect!

Friday, March 7, 2014

Friday Favorites

Blue skies, sunshine, and it's currently 40 degrees outside! My desire to wear a sundress is almost overriding my common sense. After a long winter this is much needed whisper of spring. I can't think of a better way to start off the weekend. Hope your day is lovely!

Here are this week's favorites

I've wanted my very own plant collection since I was a little girl watching my Grandmother water her plants by the dining room window. Something about the giant ferns and large green leaves makes a room feel so much more like home. Since this guy was on the reduced rack of Lowe's for a whopping $1 I decided it was time that I start my own. Here's to hopefully proving I have a green thumb!
An entire week of subbing half days at school....can it get any better then that? 
And yes I do carry around an old fashioned planner, they are my favorite.
Can we just stop for a moment and appreciate the deliciousness of a red potato? 
I'm seeing this recipe in my future for sure!

Happy Friday!


Saturday, February 8, 2014

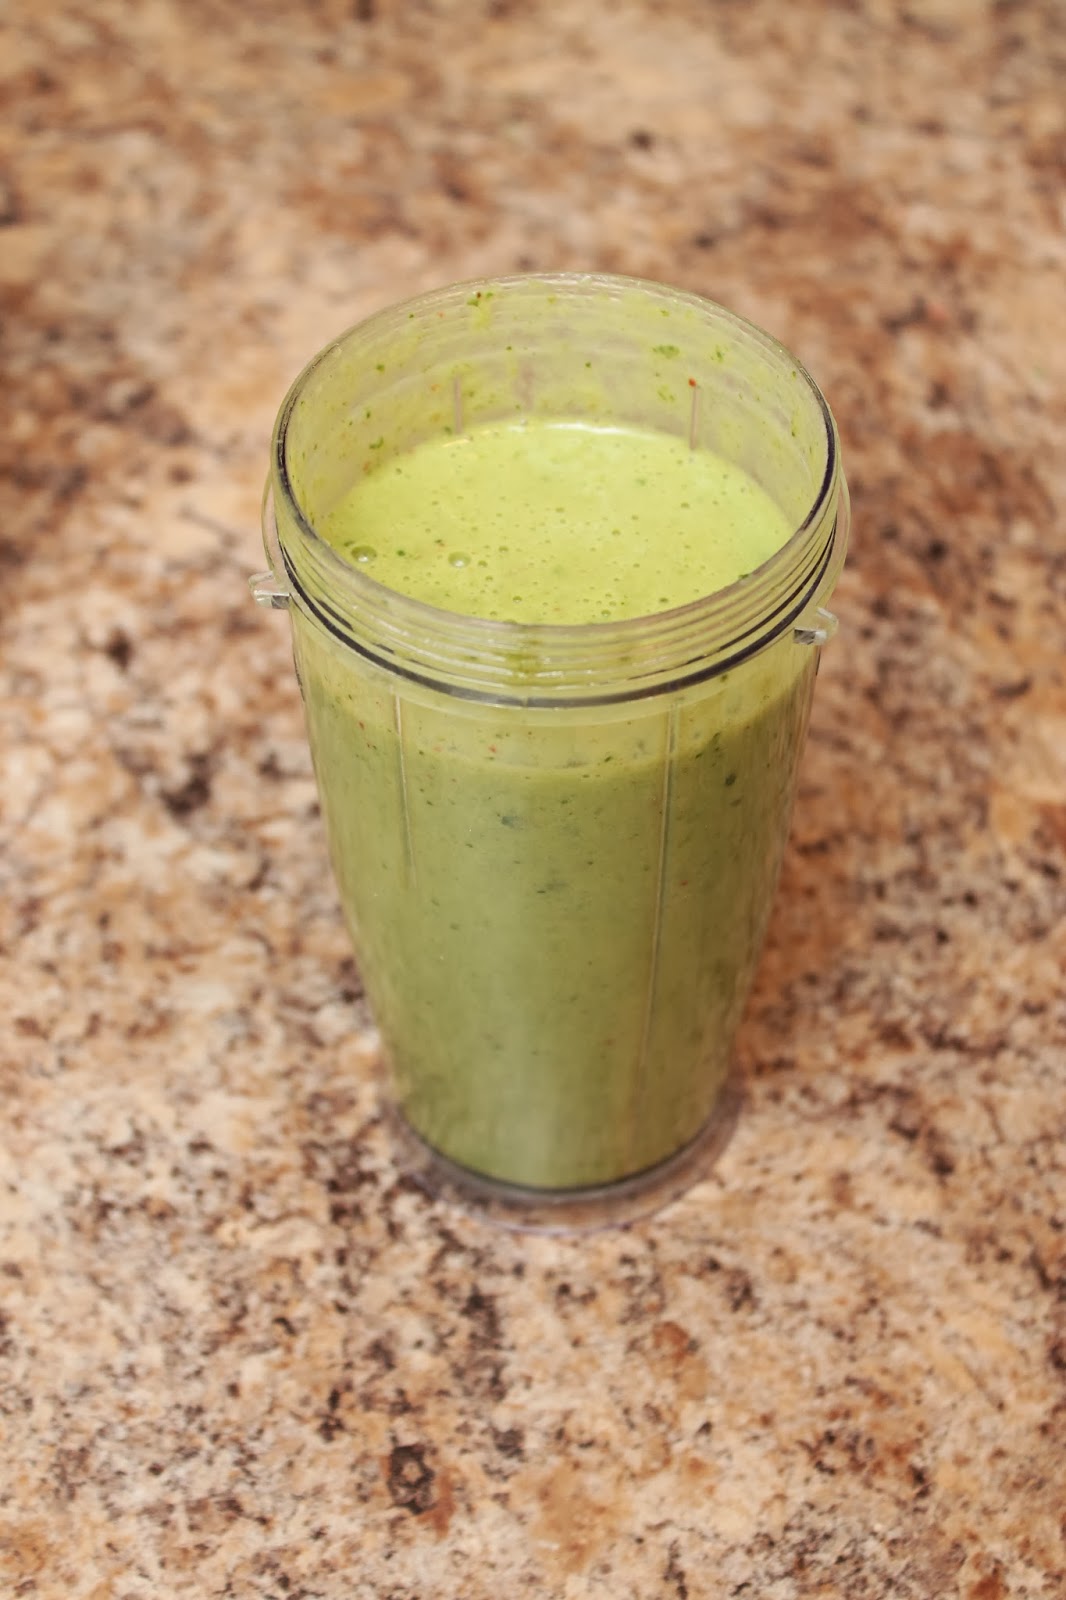
Green Smoothie

I enjoy smoothies and I was particularly intrigued when green smoothies became popular. I soon discovered that I loved them too. They are perfect for breakfast (or any other meal), and I also like them after a hard workout. Not only do they taste good, they start your day off with some healthy ingredients. Through a little trial and error I have created my own delicious version. The best part of this smoothie is that anything goes...have fun experimenting on your own or just enjoy mine!

Green Smoothie
1 cup kale (or spinach)
1/2 cup plain yogurt
1/2 cup almond milk
1 banana
3 frozen strawberries
Due to having a small blender, I mix the banana, kale, and milk first. 
This allows the kale to blend better, and keeps it from making the smoothie gritty. 
Blend away!
 Add the yogurt and strawberries and you are good to go!
So yummy!
Enjoy!


Friday, February 7, 2014

Friday Favorites

Ahh Friday! One my favorite days of the week. It always brings a sense of excitement as the workweek ends and the weekend begins. This weekend I plan on watching the Olympics, catching up on some reading, and finishing some fun projects to share on here. Maybe I'll even convince my husband to do a little shopping with me :).
 Here are my favorites for the week! 
Sunshine and blue skies make winter so much prettier!

Mornings are always better with muffins and coffee!

My new favorite color, perfect for accessories.

Finally spent my gift certificate at an adorable quilt shop in town. 
Aren't these patterns so pretty? I just couldn't resist. Now I just need to find a project. 

What would you make?


Friday, January 31, 2014

Friday Favorites

When one lives in upstate New York in January, the lack of sun can really get to a person. Combined with ridiculously cold temperatures this year, it has been easy to fall into the trap of focusing on the negative aspects of life. Looking to get out of that trap I decided to shake off the doldrums and take a moment each week to focus on my favorite parts of life, and what I am enjoying at the moment. Not only does it make me thankful for what I have, but reminds me to take a step back and enjoy the simple things...
Here are my favorites from this week!

Green smoothie after a workout, so delicious! Definitely one of my favorite breakfast foods as well. Recipe coming soon!
My reading selection for the week. So far so good.
My bathroom rug that I made out of an old bed sheet. Who knew strips of material could crochet so well! Reminds me of one of my favorite children's books.

So what are some of your favorites this week?


Monday, January 27, 2014

Stick a pin in it!

I have recently embarked on doing more projects with my sewing machine. I've always wanted to be able to sew well, and since practice makes perfect, a variety of projects have now infiltrated my craft table.

With this new found hobby, came the need for fun accessories. One in particular was a pincushion. In the past I would keep needles in a container, which proved to be easy storage, but not effective for use. As a result I decided to make a place for my needles to reside that was easy to use and looked nice on my sewing table. I really liked the final result and it has worked very well as I continue to stitch on! Here's how to make your own!

Materials
Picture frame (make sure it has a back with a stand)
Hot glue
Stainless steel scrubbing pad
Material

I was originally going to use stuffing as filling for this project, but then I read that if you use a stainless steel pad it will keep your needles sharp. Figured it couldn't hurt, and I had one on hand. Perfect!
Begin by taking the glass out of your picture frame, and cut a piece of material that will cover the back of your frame with several inches to spare.
Stretch and pull your scrubbing pad until covers at least 3/4 of the backing of your frame.
Place the pad on the cover and wrap your material over the top. Glue the edges down, making sure it is all firm and secure.
 Slide the cover into the frame and stand it up. 
 Push in your pins and you are ready to go!


Happy sewing!