Home

About the Girl

DIY/Tutorials

SIPIDI Saturday

Food & Recipes

Monday, January 14, 2013

A Touch of Pink

Every once in awhile I think about what my "style" is. What do I like to make, what do I find beautiful or intriguing? What is hanging on my walls or perched on my bookshelf edge? I used to strive to be more modern in my tastes thinking that I liked that more. Then I'd love some vintage, dark colors, retro, cottage....and so on, forever changing my mind. However, I soon realized that I had the strongest bent in the more the antique/romantic style of things. Of course with that came the realization that I had turned into my Mom. Her taste, that I had always moved away from, was now flattering my senses and begging to be let in. It honestly makes me laugh and reminds me of a plaque a family friend gave me for my birthday. It reads....

Mirror mirror on the wall...I am my mother after all!

Truer words have never been spoken, haha. Now I just have to accept that for now our tastes are running in the same direction, and that when she reads this she'll want exactly what I made for her own living room :). So here's to you Mom and the touch of pink that every room needs. 

The other day I was looking for an easy project to complete and use as a centerpiece for my coffee table. After looking through some shelves I grabbed some supplies and the following was born.


I started with a foam ball and bunches of flowers, both can be found at your local craft store.

Pull off the heads and push into the foam ball. If the stems are long enough you won't need to use glue to secure the flower heads. 


Since I had a variety of flowers I tried to place them in a different pattern to make it look cohesive.


I then decided to add use a variety of lace and ribbons to make others to go next to the flower. However, after my sweet husband pointed out that the pink lace one looked just like something I used in the shower (I know I know...I can't believe I didn't see it before!), I nixed them both for some candles. 


Much better!


Tuesday, January 8, 2013

It's A Party!

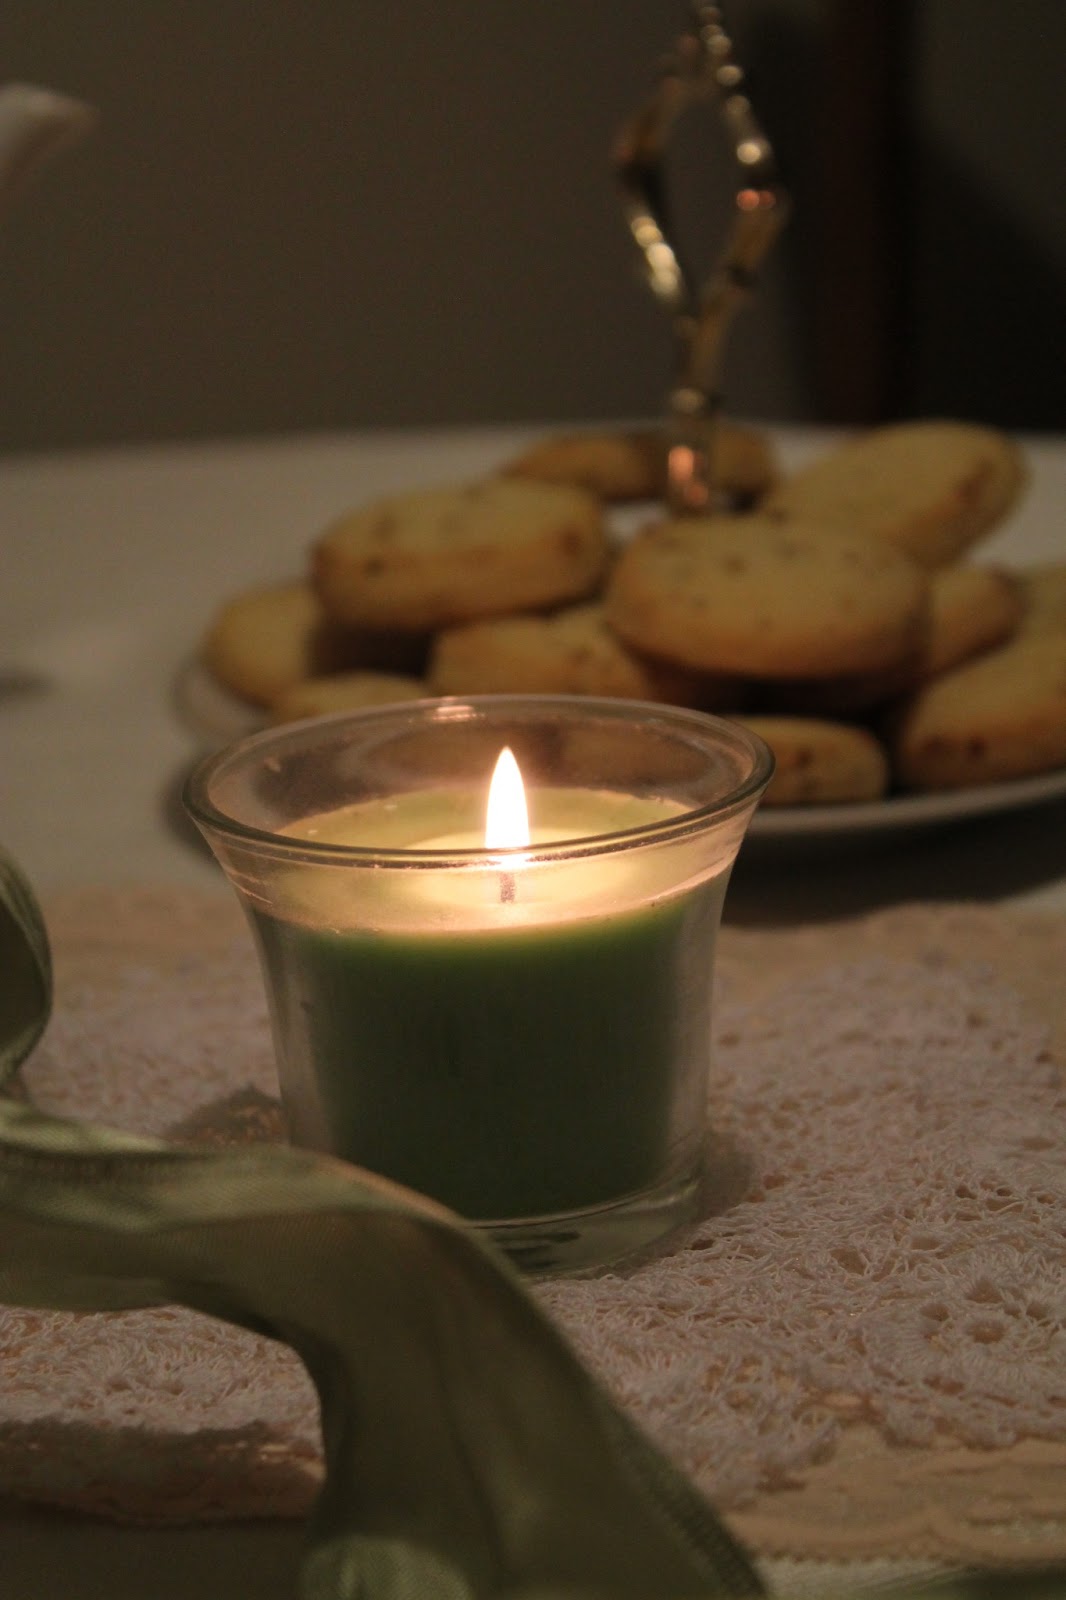
It is an absolute truth that you are never too old for a tea party. Beautiful, fun, and delicious. I'm so glad I decided to throw one for the premier of Downton Abbey. Up until Saturday evening I wasn't sure I wanted to do anything more then serve cake. However, after seeing multiple people post about their preparations I decided to throw something together as well. Why not make it feel authentic and enjoy a little ladies tea party as well? Besides who needs an excuse to bring out the china :). 

P.S. The cake was divine! 


Saturday, January 5, 2013

SIPIDI Saturday: Downton Abbey Edition


There is something special about new beginnings, particularly when they involve a new year! Of course what could be better to start the new year then a new season of Downton Abbey! Oh yes! That fantastic show that has captured the hearts of so many. In some ways I feel like a 15-year-old girl squealing about her favorite boy band, and not a 24 year old gushing about her favorite TV show on PBS. Sounds silly I know, but there is something so delightful about a decent TV show and this one has certainly got me hooked. Now if I could just get my husband to name a future child Sybil…hmmm…;)


Now with the first episode on tomorrow evening I knew I had to get creative and make something to celebrate. My mom (an equally enthusiastic fan) and sister are going to be joining me for an evening of fun and British accents. So what to make to celebrate? Well cake of course! It couldn't be a party without cake. I found this delicious looking recipe on Pinterest and was sold. Time to get baking and pull out the china and lace doilies. Check back soon for all the delicious goodness!


Vanilla Cake

Cake Mix
- 5 large egg whites
- 1 cup whole milk
- 2-1/4 teaspoons pure vanilla extract
- 3 cups flour
- 1-3/4 cups sugar
- 3/4 teaspoon salt
- 12 tablespoons unsalted butter, at room temperature and cut into cubes

Whipped Vanilla Bean Frosting
- 3 sticks + 2 tablespoons unsalted butter, softened and cut into cubes
- 3 cups sifted confectioners' sugar
- 3 tablespoons milk
- 1 vanilla bean, scraped
- 1 teaspoon pure vanilla extract
- pinch of salt

Instructions

Cake:
1. Preheat oven to 350 degrees F. Grease, line with parchment, and flour two round 8-inch pans.
2. In a medium bowl or measuring cup, combine and stir the egg whites, 1/4 cup of milk, and the vanilla. Set aside.
3. In the bowl of an electric mixer fitted with the paddle attachment, combine the dry ingredients together on low speed for 30 seconds.
4. Add the butter and remaining milk, and mix on low speed until just moistened. Increase to medium speed and mix for 1-1/2 minutes. Scrape the sides of the bowl and begin to add the egg mixture in 3 separate batches; beat on medium speed for 20 seconds after each addition.
5. Divide the batter into two, spreading it evenly.
6. Bake 25-35 minutes or until a cake tester comes clean when inserted into the center.

Frosting
1. In the bowl of an electric mixer fitted with the paddle attachment, whip butter for 8 minutes on medium speed.
2. Add remaining ingredients and mix for 7 minutes. Frosting will be light, creamy, and fluffy.


Friday, December 21, 2012

The Wrapping of the Presents


Christmas always has a funny way of sneaking up on me. This year was no exception. My graduate classes ended, my job as a substitute teacher took off, and chaos ensued. Despite all the craziness there was a little room for some DIY, my favorite. This time it came in the form of wrapping paper. I love trying different things when I wrap presents and this year I wanted to do it thrifty and fun. My inspiration came from a weekly classified that we get in the mail every week. Though nothing new under the sun, I figured I would wrap presents in newspaper and add a little flair. All it took was a couple snips of paper and some cascading fringe bows to add to the final touch. Cheap, easy, and you'll probably make everyone grin when you walk through the door. Sounds like a perfect way to wrap a present to me :)


Wednesday, November 28, 2012

Snow is in the air...

I love it when large snowflakes come drifting down outside. It makes me feel all cozy and ready for Christmas! In preparation for the holiday I wanted to make something that would display some snowflakes of my own. When my Grandparents passed away I was given some of my Grandmother's handmade crochet snowflakes. Growing up my Mom always had a few that we put on our own tree, and it was a treasured ritual to put them in a place of honor. Of course I wanted to carry out the same tradition myself. However, I wanted to display them in a way that I could keep them out for longer then just the holiday season. As a result, my stick tree was born! 

Materials:

- Tall glass vase
- 3-4 pinecones
- 10 or so sticks cut to desired length. I wanted my tree big so the sticks were taller then normal.
- Enough ornaments to fill your tree. I used my Grandmother's snowflakes and sparkly fake fruit.


The tree now nicely adorns the top of my book shelf and I am thinking it needs a strand of lights to give it an extra pop. Guess it's time to take out the Christmas totes and get the rest of the house excited for Christmas :).


Sunday, November 18, 2012

The Pumpkin Patch

For the first time this year my husband and I decided to check out our local pumpkin patch. Neither one of us had ever been to one and we wanted some to carve and make decorative centerpieces. Well....okay, I wanted the pumpkins for centerpieces :). Either way, one crisp Saturday morning we made our way to a local farm and had way too much fun picking out some fancy looking pumpkins. It was the perfect celebration of fall and preparation for Thanksgiving!


For the record the pumpkin on the right is actually Walle, unfortunately he managed to turn out a little like ET. Maybe next year I'll go a more traditional route :)


Saturday, November 10, 2012

SIPIDI Saturday: Best Apple Pie!

Nothing screams fall and Thanksgiving more then a perfect apple pie. Something about the idea of biting into gooey apples, a flaky crust, and crumbly topping is just divine. Now to be perfectly honest I do not eat apple pie for the apples. They are nice add on, but the real delicious goodness comes from the crumble topping and caramel that layers on top. I know I know...so bad...but oh so good! My Mom used to make this in the past and after finding this pin, I knew I had to do it myself! The result was a combination of what my Mom has used and my own creation. Try it yourself, I promise it won't disappoint!


 Apple Pie Recipe

1 Pie Crust
6 Tablespoons butter melted
1/4 Cup packed brown sugar
1 1/4 Cups white flour
6 apples, peeled, cored and cut into slices
3/4 Cup Sugar
1 Tablespoon lemon juice
1/2 Teaspoon ground cinnamon

In a medium mixing bowl combine butter, brown sugar and 1 cup flour. Pinch with fingers until large crumbs form. Place in freezer.

In a large bowl, combine apples, sugar, lemon juice, cinnamon and remaining 1/4 cup flour. Stir until everything is dissolved and scrape mixture into pie crust, arranging apples as compactly as possible. Bake for 35 minutes 350 degrees.

Pull pie out and spread crumb topping over apples and bake 30-40 minutes longer until topping is golden brown.

Caramel Recipe 

1/2 Cup brown sugar
3 Tablespoons butter
1 Teaspoon vanilla
1 Can sweet and condensed milk

Boil for 3-5 minutes in the microwave stirring occasionally until thick. Let sit for awhile before pouring over the pie. There have been times when I've added a bit of flour to make it thicker as well.

Okay I will admit I cheated with a store bought crust :)

I like using a variety of apples, makes the flavor more interesting. 
If you even get to the flavor through the crumbs and caramel ;)

My fabulous apple peeler. Found mine at a garage sale, such a great invention!

Even convinced my husband to operate the machinery 

Perfect slices!

Getting ready to mix

All ready to go!

The crumbs have been added and baked.


Now for the caramel

Done!


Oh yummm!!! The smell alone is to die for. Happy eating!