Home

About the Girl

DIY/Tutorials

SIPIDI Saturday

Food & Recipes

Thursday, October 31, 2013

Crash Hot Potatoes

Or...the most tantalizing potatoes ever! Seriously I can't get enough, they are just so good! I happen to enjoy potatoes in most of their forms whether it be mashed, fried, baked, and so on. However, my one dislike has always been how dry they tend to be.This is the reason that usually I stay away from eating baked. They are just too dry unless you dump loads of sour cream and cheese on top. Thereby using your entire fat allotment for the week in one sitting...not a fan. However, with this recipe I have never had that problem. Now it's your turn to enjoy and see if you agree!

Crash Hot Potatoes
  1. Potatoes - As many as you like and whatever kind you prefer (I've used three different potatoes with this recipe and they all turned out beautifully!)
  2. Olive oil
  3. Salt
  4. Rosemary

Begin by boiling your potatoes with the skins on until they are soft and you can run a fork through them easily.


Spread a thin layer of olive oil on a baking tray and place the potatoes right from the boiling water on it. 

 Then with a fork (or whatever utensil you prefer) push down and break them open.

 Then drizzle a generous amount of olive oil over the top. Don't be afraid of soaking them either. I use a good tablespoon over each potato. Then add a generous amount of salt. I use my fingers and sprinkle it all over each one. Last, sprinkle a light coating of rosemary over the potatoes. This is one thing that I would not overuse, a small amount works well.
 Now, pop them in the oven at 350 degrees for around 30 minutes. The goal is to bake them until the skins and edges are crisp.
Now it's time to dig in! 

Serve with a side of chicken and broccoli and you have a delicious dinner!


Enjoy!


Sunday, October 20, 2013

Garbage Box Refashion

Garbage cans (or baskets, or pails...who knew there were so many names?) are a part of everybody's home. Often they are the last thing we ever think about sprucing up, yet they can be the most fun. Recently I discovered a need for a garbage can next to my sewing table. Not wanting to spend any money on a new one, I looked around to see what I had on hand to make my own. I was thrilled with the results and especially how fun and easy it was to make! Read on to make your own.

Materials
1. Cardboard box (any size you wish)
2. Contact paper (found mine at the Dollar Store)
3. Mod podge (or any glue you have on hand) and a brush
4. Scissors
5. Ribbon

Finding some leftover contact paper from a previous project, I knew it would work perfectly to make a plain boring cardboard box into something pretty and usable. Due to it being leftovers I was not able to cover it as perfectly as if I had a full roll, but ultimately this did not prove to be a problem. No matter how much you have, simply cut the paper to fit the size of your box.
Even though I was using contact paper I was worried that the paper would not permanently stick to the cardboard. As a result I slathered mod podge on the sides before placing the paper on top of it.
As you can see I couldn't fit my pieces perfectly due to having leftover pieces. As a result I placed one strip all around the bottom that came most of the way up the box. Then I took another strip and wrapped it on each side and down the insides of the box.
Lastly, to hide the seam around the middle I tied a matching ribbon to give it some extra flair!
All ready to go! It looks pretty snazzy next to my sewing table too. Now I'll just have to remember not to dump anything liquid into it :)


Tuesday, October 1, 2013

Scarf Organization

I love a good scarf. They spice up an outfit and make the perfect accessory for the crisp temperatures of fall. Unfortunately, though they can be a great accessory, I have the worst time keeping them organized. I would fold them in piles, put them in boxes, or hang them over hangers. However, none of these ideas worked very well, and I would become frustrated at the lack of a good place to keep them. Then I remembered an organization trick I learned for my husband's ties, and I figured the same would work for scarves. Cheap, easy, and fast. Now that's the ideal way to organize!

Materials
1. Sturdy clothes hanger
2. Shower rings (I bought the plastic ones at Target for a whopping $1.25!)
3. Scarves


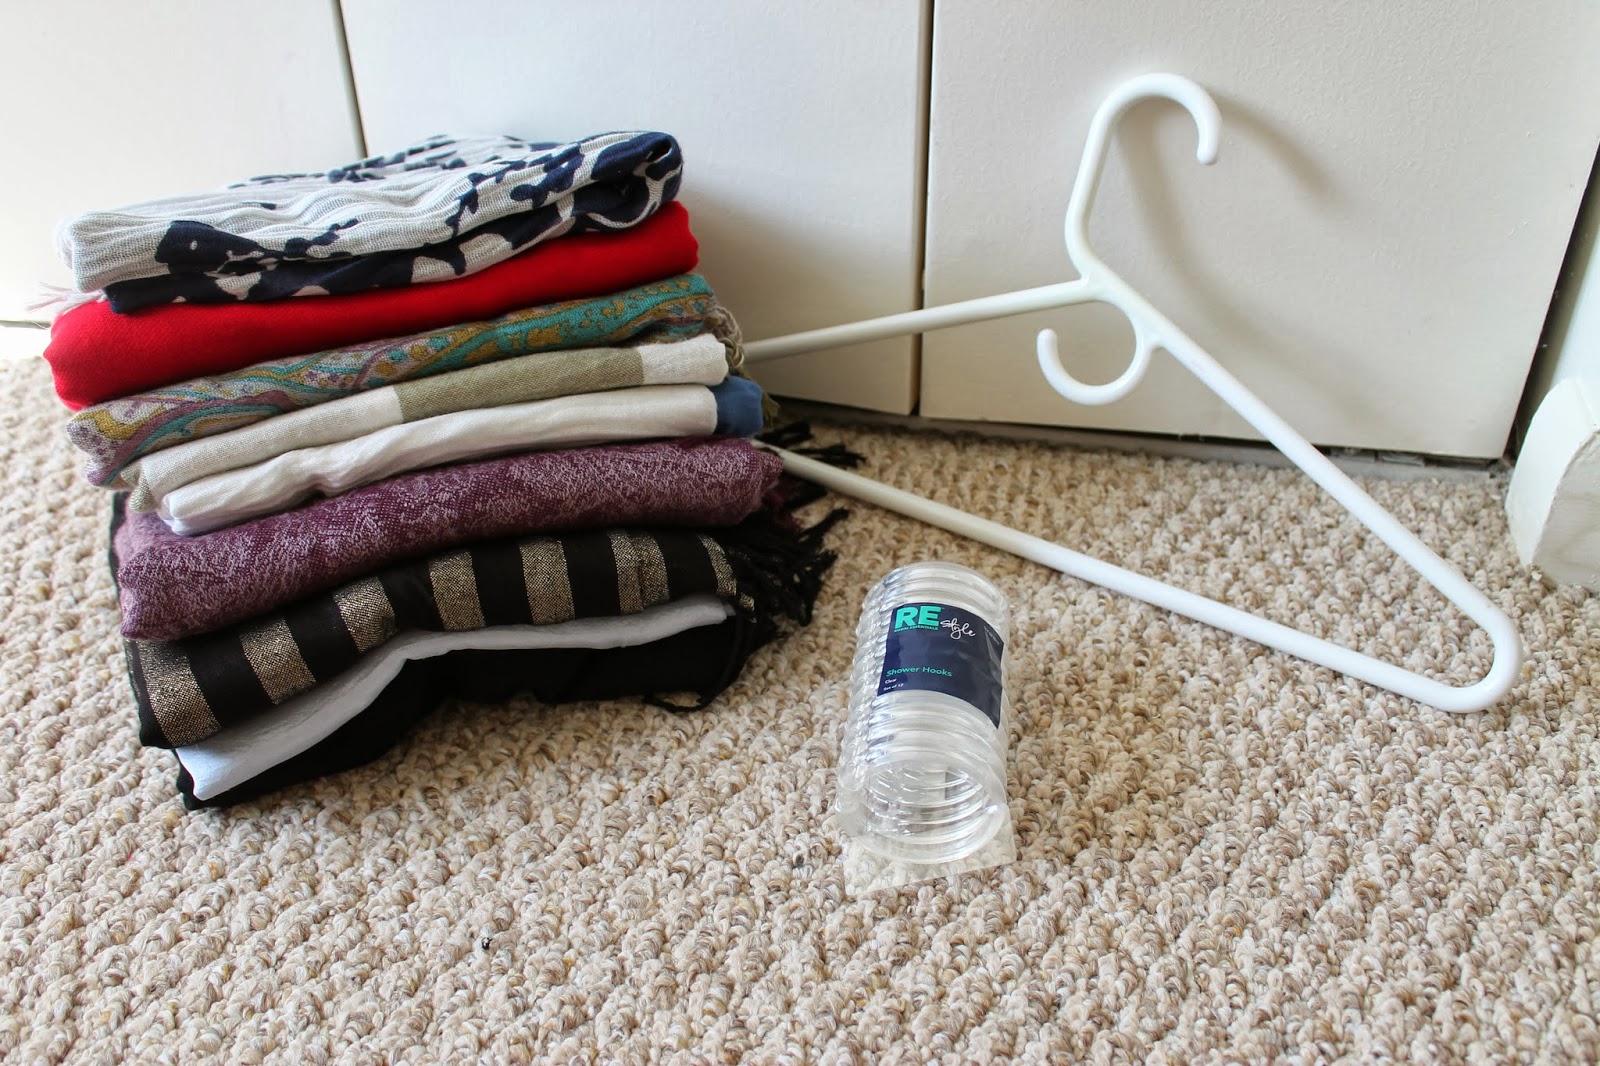
 Grab your supplies!


Clip the rings to your hanger


Hang your scarves and you are ready to go!