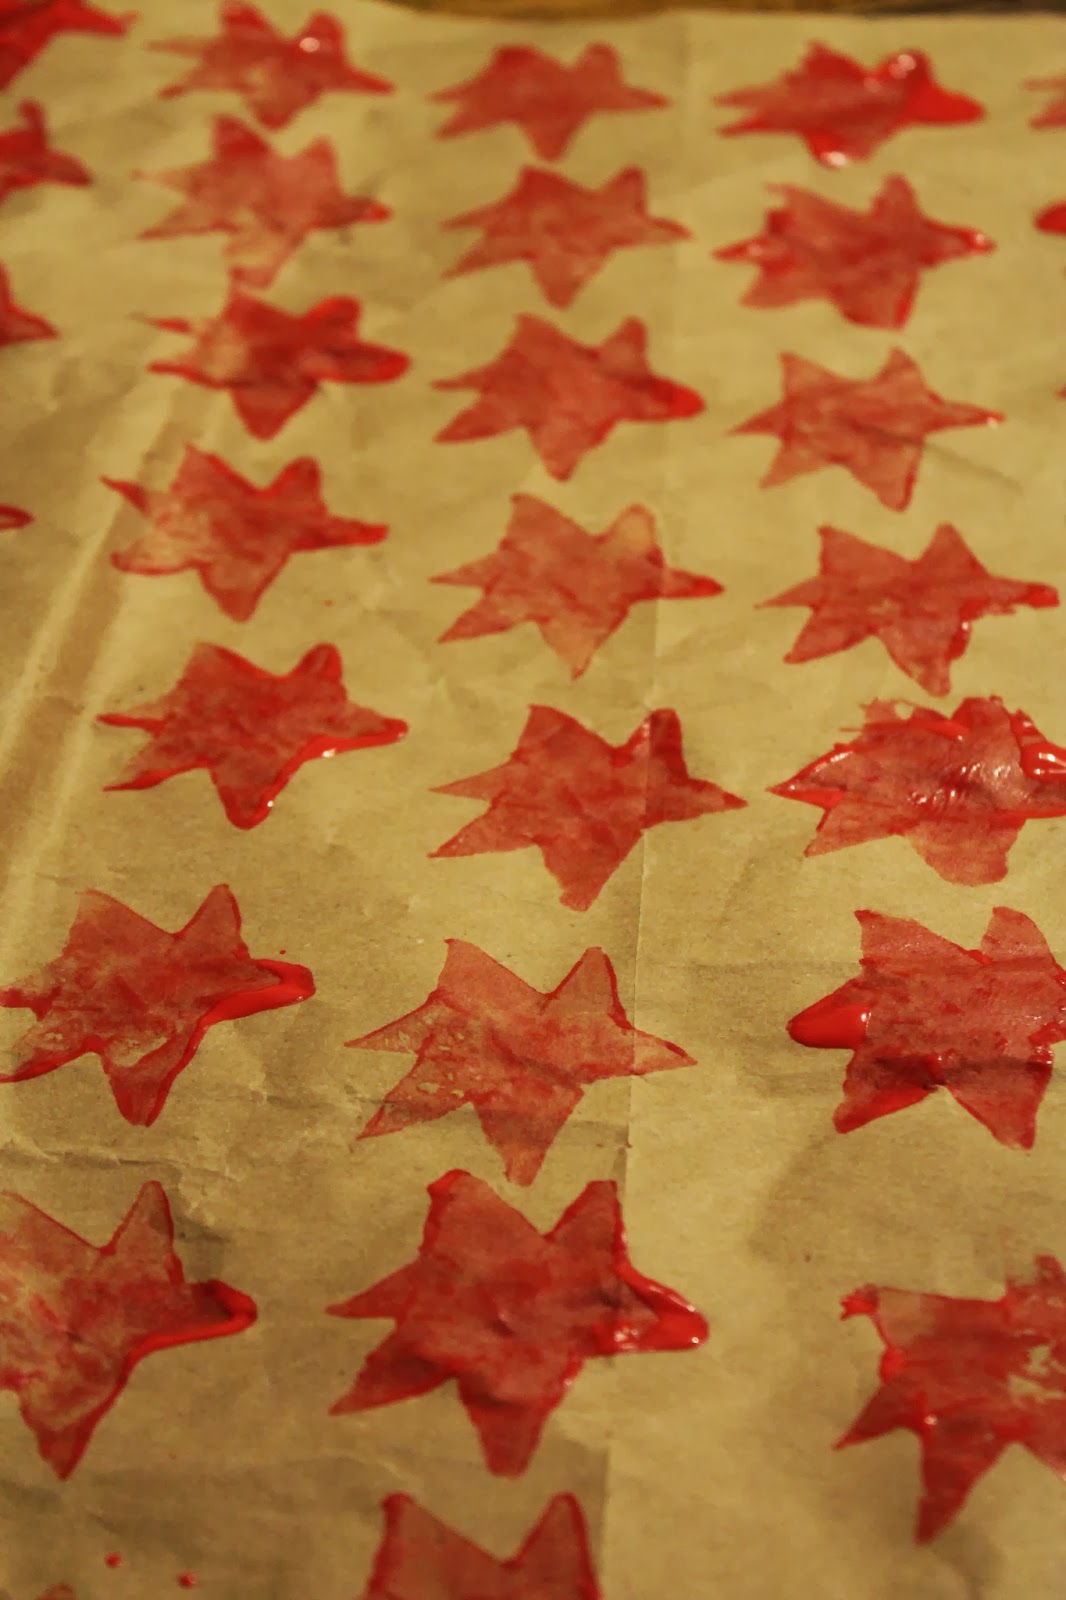
Wrapping presents is always one of my favorite parts of the holidays. However, I'm now finding that making the wrapping paper is just as fun. Last year I embarked on homemade wrapping paper using leftover newspaper here. This year I took a different route when a package I ordered showed up with yards of brown paper inside. As soon as I saw it, I knew that I had to use it in some way for Christmas.
Home |
About the Girl |
DIY/Tutorials |
SIPIDI Saturday |
Food & Recipes |
|---|
Saturday, December 21, 2013
Tuesday, December 10, 2013
Picture Perfect
Hello again my dear readers! Whew, it has been too long and much has happened. I have been absent because I have spent the last few weeks completing my masters degree, which I am happy to say is done and over. Relief is an understatement. Though I loved every minute of it, the fact that I do not have mountains of homework greeting me at the door every afternoon is quite nice. Especially because I now have more time to devote to different aspects of my life...like this blog!


Several weeks ago my sister the photographer expressed that I needed to update the outdated pictures on my blog and offered to do a photo shoot. I knew immediately that doing a shoot with her would be incredibly fun, and I would get a lot of great material from her work. Sure enough, she did not disappoint. Not only is she very talented, she is so much fun to work with! She does her best to put everyone at ease and make the photographs feel natural and fun. I have worked with her during multiple weddings and watched her shoot many friends and families that have resulted in some beautiful photographs. Check out her website to see what I mean.
Of course I could go on and on, but suffice it to say she is an excellent resource if you need a photographer. She is also currently offering two special deals to Edges of Lace readers. If you book a wedding date with her before January 1st, she will give one extra hour of coverage! If you book a regular lifestyle shoot before January 1st she will give you 10% off her going price! This is a really fabulous deal, especially for those of you that want family portraits, engagement sessions, maternity, baby shots. portraits, or just a fun photo shoot. Contact her here and just mention that you read this blog so she will give you whichever deal you choose! Now for the pictures!


Thursday, October 31, 2013
Crash Hot Potatoes
Or...the most tantalizing potatoes ever! Seriously I can't get enough, they are just so good! I happen to enjoy potatoes in most of their forms whether it be mashed, fried, baked, and so on. However, my one dislike has always been how dry they tend to be.This is the reason that usually I stay away from eating baked. They are just too dry unless you dump loads of sour cream and cheese on top. Thereby using your entire fat allotment for the week in one sitting...not a fan. However, with this recipe I have never had that problem. Now it's your turn to enjoy and see if you agree!
Then with a fork (or whatever utensil you prefer) push down and break them open.
Then drizzle a generous amount of olive oil over the top. Don't be afraid of soaking them either. I use a good tablespoon over each potato. Then add a generous amount of salt. I use my fingers and sprinkle it all over each one. Last, sprinkle a light coating of rosemary over the potatoes. This is one thing that I would not overuse, a small amount works well.
Now, pop them in the oven at 350 degrees for around 30 minutes. The goal is to bake them until the skins and edges are crisp.
Crash Hot Potatoes
- Potatoes - As many as you like and whatever kind you prefer (I've used three different potatoes with this recipe and they all turned out beautifully!)
- Olive oil
- Salt
- Rosemary
Begin by boiling your potatoes with the skins on until they are soft and you can run a fork through them easily.
Spread a thin layer of olive oil on a baking tray and place the potatoes right from the boiling water on it.
Then with a fork (or whatever utensil you prefer) push down and break them open.
Then drizzle a generous amount of olive oil over the top. Don't be afraid of soaking them either. I use a good tablespoon over each potato. Then add a generous amount of salt. I use my fingers and sprinkle it all over each one. Last, sprinkle a light coating of rosemary over the potatoes. This is one thing that I would not overuse, a small amount works well.
Now, pop them in the oven at 350 degrees for around 30 minutes. The goal is to bake them until the skins and edges are crisp.
Now it's time to dig in!
Serve with a side of chicken and broccoli and you have a delicious dinner!
Enjoy!
Sunday, October 20, 2013
Garbage Box Refashion
Materials
1. Cardboard box (any size you wish)
2. Contact paper (found mine at the Dollar Store)
3. Mod podge (or any glue you have on hand) and a brush
4. Scissors
5. Ribbon
Finding some leftover contact paper from a previous project, I knew it would work perfectly to make a plain boring cardboard box into something pretty and usable. Due to it being leftovers I was not able to cover it as perfectly as if I had a full roll, but ultimately this did not prove to be a problem. No matter how much you have, simply cut the paper to fit the size of your box.
As you can see I couldn't fit my pieces perfectly due to having leftover pieces. As a result I placed one strip all around the bottom that came most of the way up the box. Then I took another strip and wrapped it on each side and down the insides of the box.
Lastly, to hide the seam around the middle I tied a matching ribbon to give it some extra flair!
All ready to go! It looks pretty snazzy next to my sewing table too. Now I'll just have to remember not to dump anything liquid into it :)
Tuesday, October 1, 2013
Scarf Organization
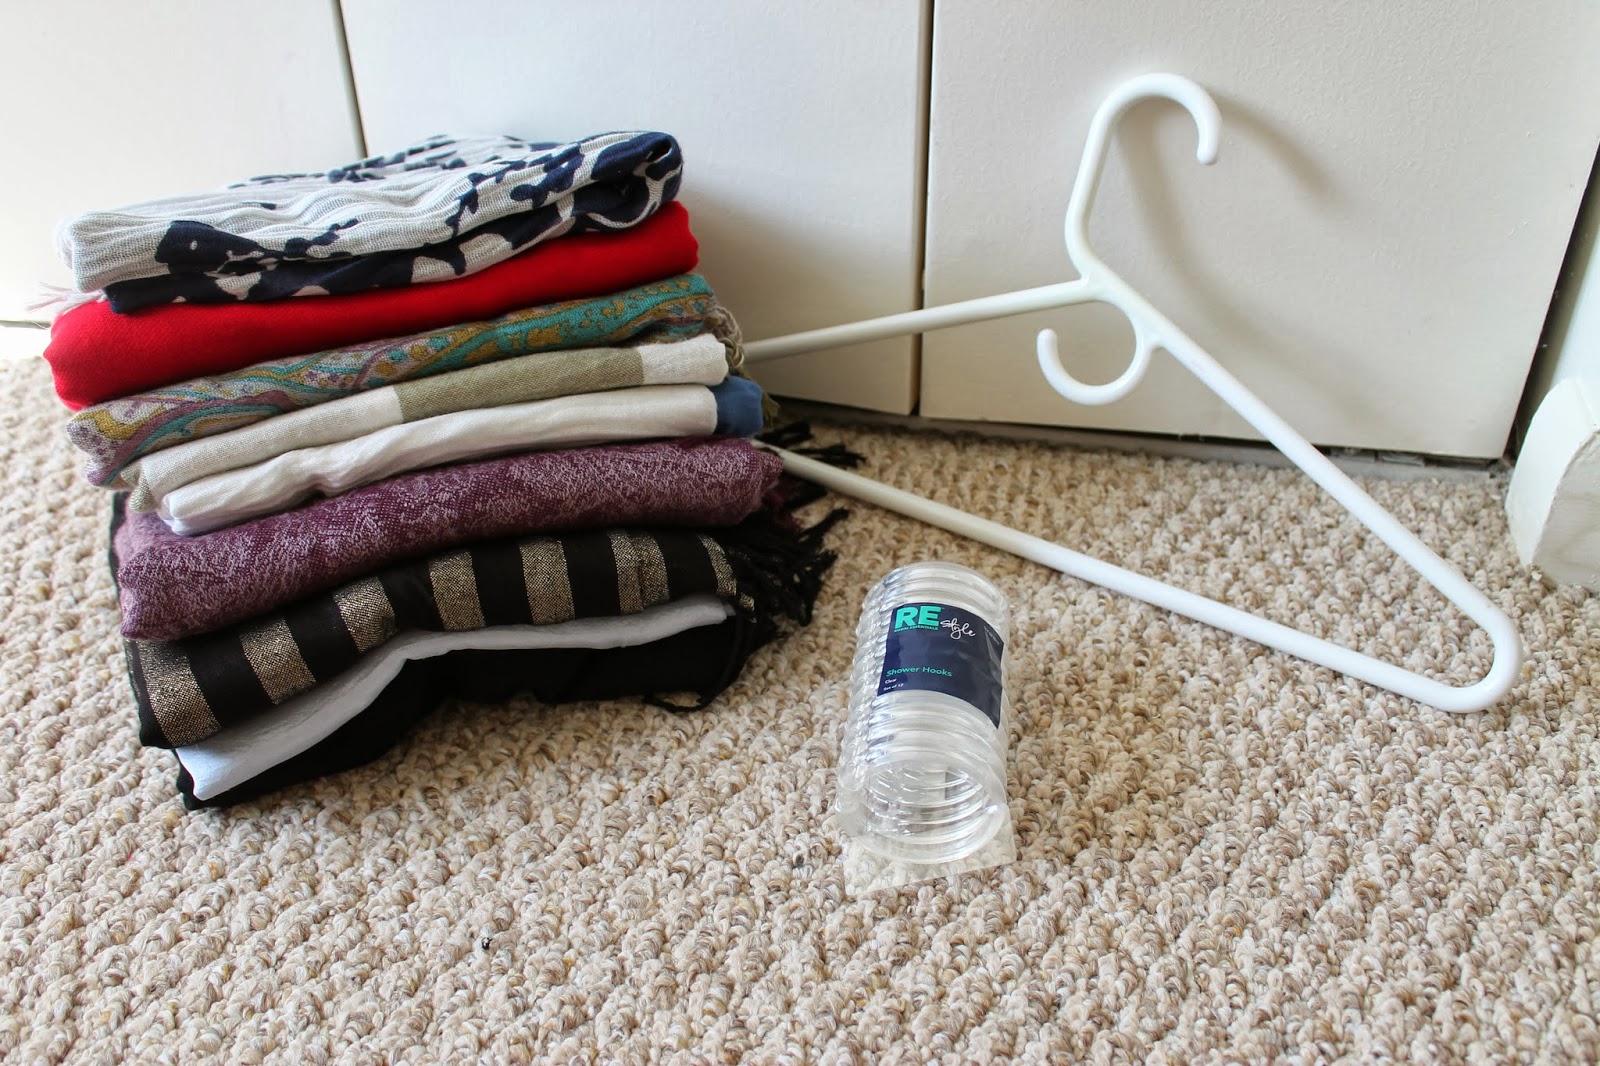
I love a good scarf. They spice up an outfit and make the perfect accessory for the crisp temperatures of fall. Unfortunately, though they can be a great accessory, I have the worst time keeping them organized. I would fold them in piles, put them in boxes, or hang them over hangers. However, none of these ideas worked very well, and I would become frustrated at the lack of a good place to keep them. Then I remembered an organization trick I learned for my husband's ties, and I figured the same would work for scarves. Cheap, easy, and fast. Now that's the ideal way to organize!
Materials
1. Sturdy clothes hanger
2. Shower rings (I bought the plastic ones at Target for a whopping $1.25!)
3. Scarves
Grab your supplies!
Clip the rings to your hanger
Hang your scarves and you are ready to go!
Saturday, September 21, 2013
SIPIDI Saturday: Graduation Tassel DIY
Life always seems to full of random odds and ends that one never knows exactly what to do with. Graduation tassels are certainly one of those items. Though neat to have a souvenir from your high school or college graduation, what in the world do you do with it after the strains of Pomp and Circumstance have faded away? Luckily Pinterest had the answer! When I discovered this pin I knew I had to try it.
Materials
Glass or plastic ornament bulb
Tassel
I originally thought that these ornament bulbs were only made out of glass. However, during my latest visit to Hobby Lobby I quickly discovered that they also come in plastic! This proved to perfect for this project, and it will prove much easier to store since it is not as fragile as glass. On a side note I also scored the ornament for $0.47, now if only the tassel had cost that much ;)
I thought it would be as simple as sliding the tassel through the opening of the ornament, however, my numbers proved too big for the opening. This required pliers to push the two numbers closer together and then refasten them to the tassel.
Once inside the ornament, I kept the last part of the tassel outside and inserted the metal top hanger back into the ornament. The lid had cuts in the metal which allowed me to pull the tassel end up through the top and make an easy hanger.
Materials
Glass or plastic ornament bulb
Tassel
I originally thought that these ornament bulbs were only made out of glass. However, during my latest visit to Hobby Lobby I quickly discovered that they also come in plastic! This proved to perfect for this project, and it will prove much easier to store since it is not as fragile as glass. On a side note I also scored the ornament for $0.47, now if only the tassel had cost that much ;)
I thought it would be as simple as sliding the tassel through the opening of the ornament, however, my numbers proved too big for the opening. This required pliers to push the two numbers closer together and then refasten them to the tassel.
This worked out well, though it still required a bit of maneuvering through the opening of the ornament. Just another reason I was glad it was plastic, not glass!
Tada!
A perfect little way to showcase your tassel!
Wednesday, September 11, 2013
Peach Shortcake
September this year came with that rush of fall. Cool weather, jeans and sweaters, and of course fall scented candles were burning away. However, just like weather in upstate New York does every year, we were hit with a few days of 90 degrees. Somehow fall candles do not have the same appeal when the air conditioning is blowing away :). Like summer, I seem to be having a hard time letting go too. Part of me still wants warm summer nights, campfires, and of course summer food. Lucky for me, September gave me a few extra days to enjoy my "summer" food before I delve into the soups and casseroles that seem to always define the fall season.

Add your sugar
One of my favorite fruits has always been peaches. Sweet, messy and delicious. Besides eating them whole, my other favorite way to eat them is with shortcake. Here's my go to recipe...I promise you won't be able to get enough!
Shortcake
4 Cups flour
1/2 Cup sugar
1 1/2 Cup Milk
2 Tablespoons melted butter
1 1/2 teaspoons almond flavoring
Bake 350 degrees for 15-20 minutes
Bake 350 degrees for 15-20 minutes
Peaches
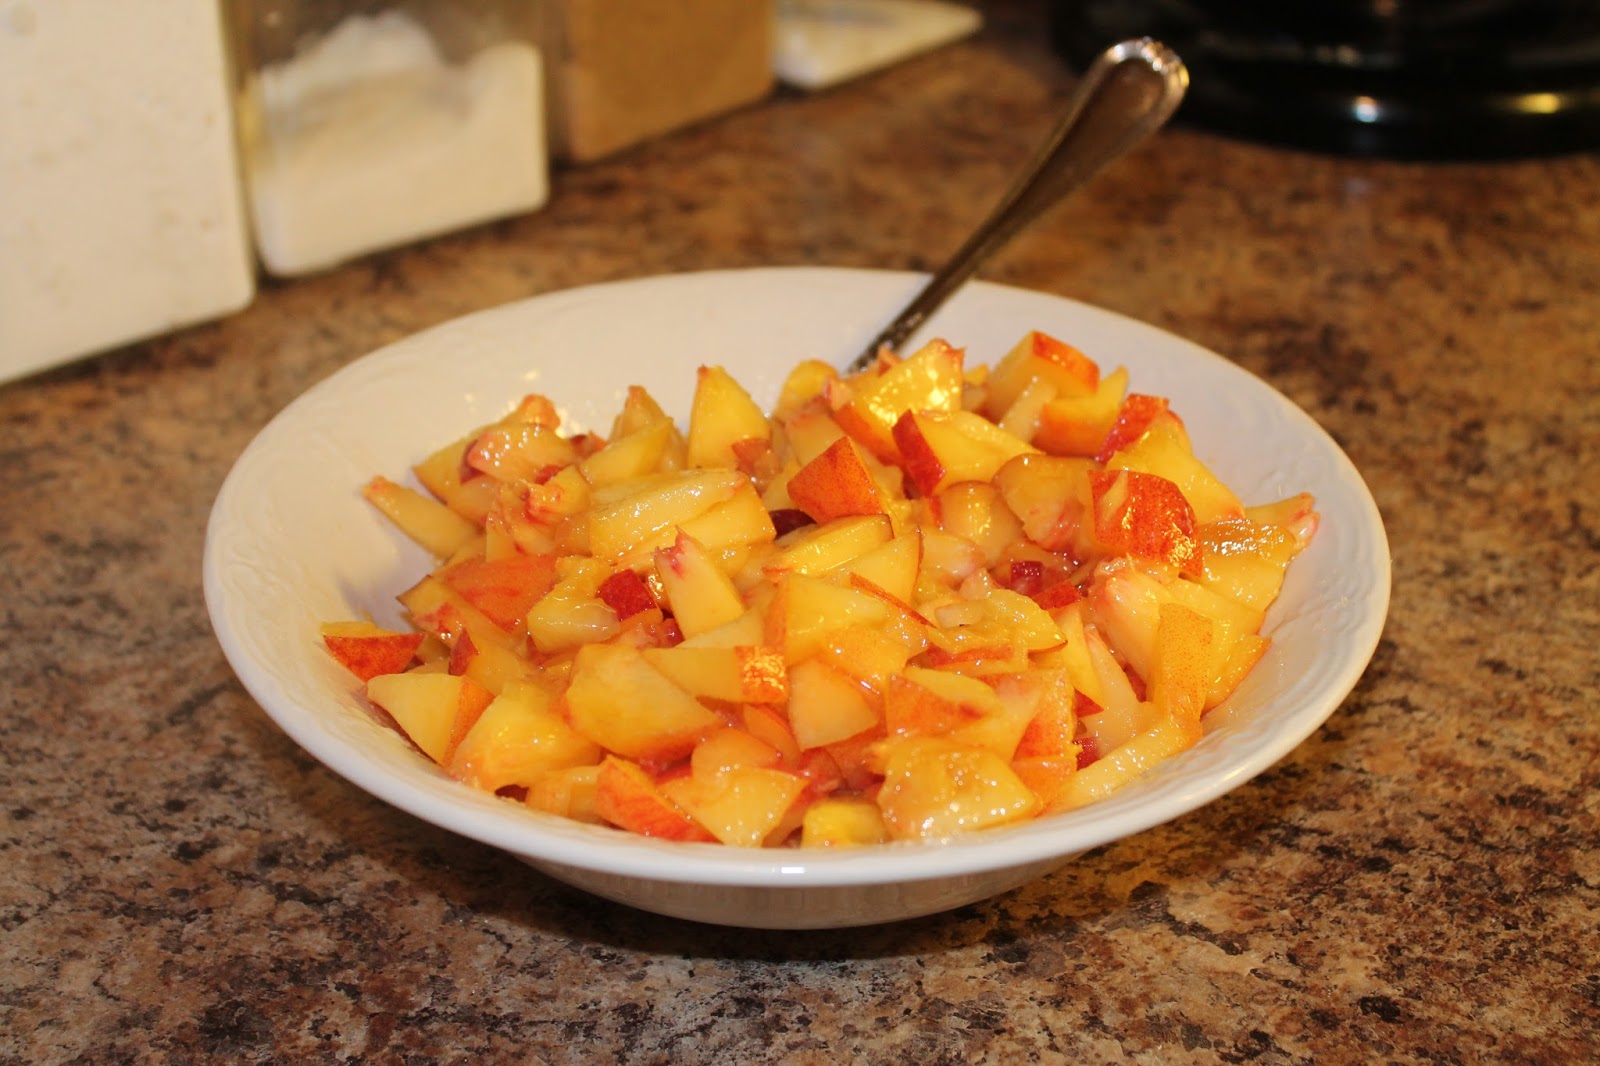
6-8 Chopped
1/4 Cup sugar
1/4 Cup sugar
Start by mixing the shortcake
Plop a portion of your choice on your baking tin. I also use my trusty Silpat!

Bake at 350 for around 15-20 minutes depending on the size of your shortcake
Wash your peaches
Dice them up
Add your sugar
Mix it all together!
Now add it to your freshly cooked shortcake and you are good to go!
Whip cream or vanilla ice-cream always adds a nice touch as well
Happy Eating!
Subscribe to:
Comments (Atom)


